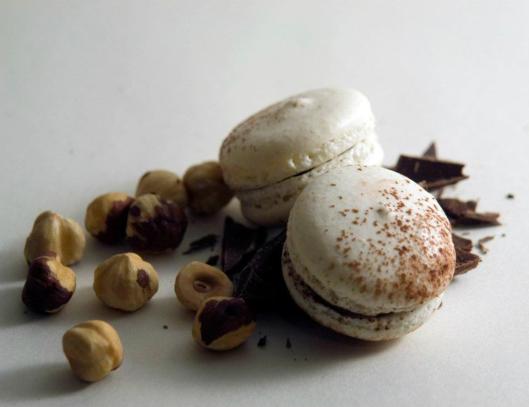
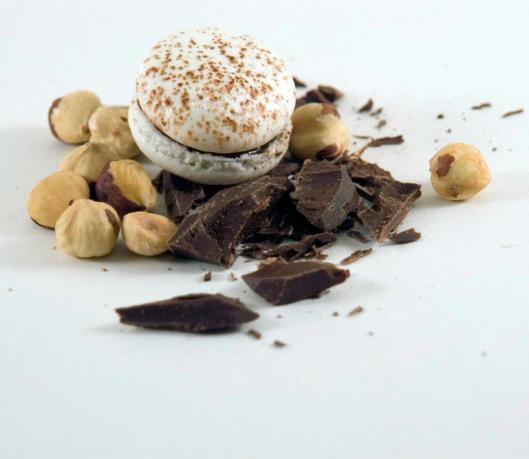
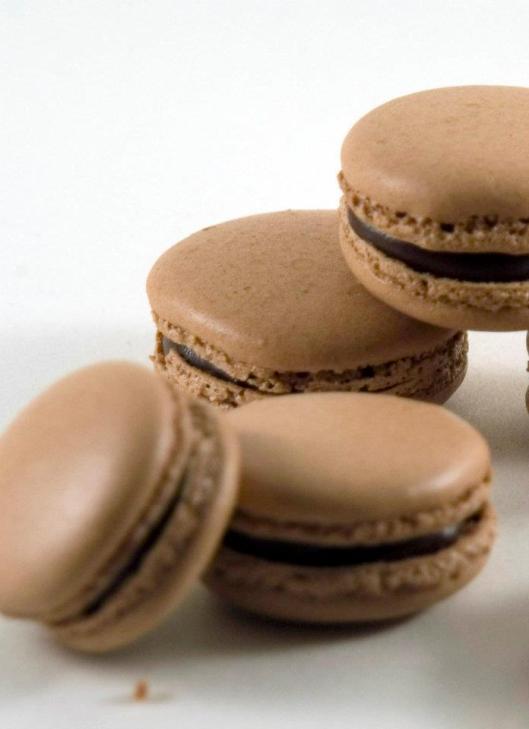
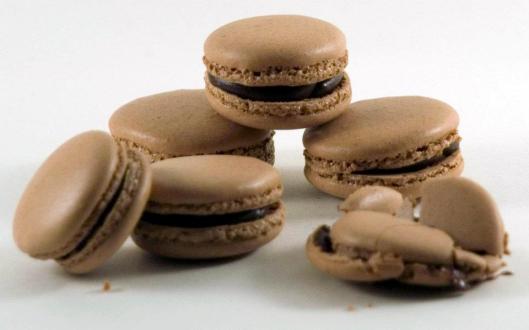
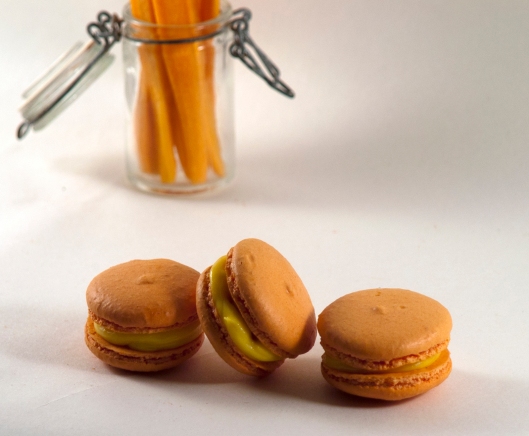
My macarons

Tags

, , , , , , , ,

Chocolate praline

Lemon-mint buttercream

Dark chocolate ganache

Pistachio buttercream

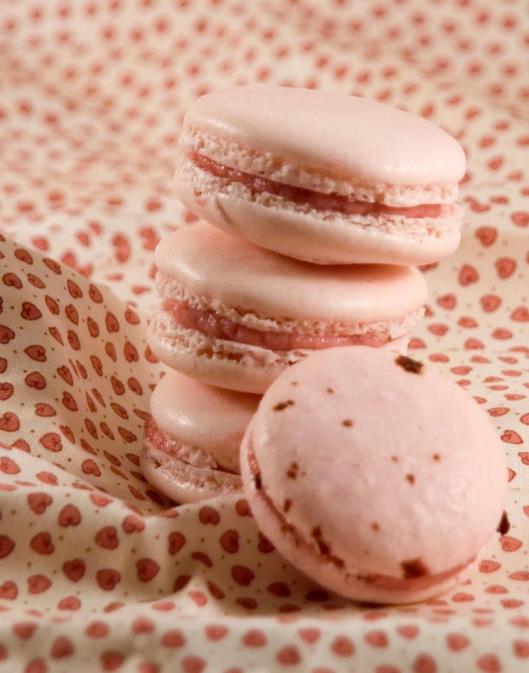
Strawberry buttercream with strawberry chips on top

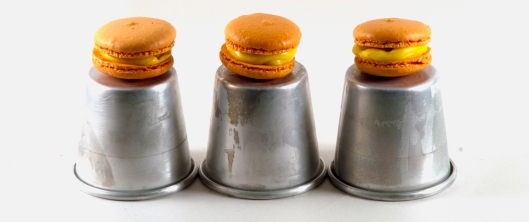
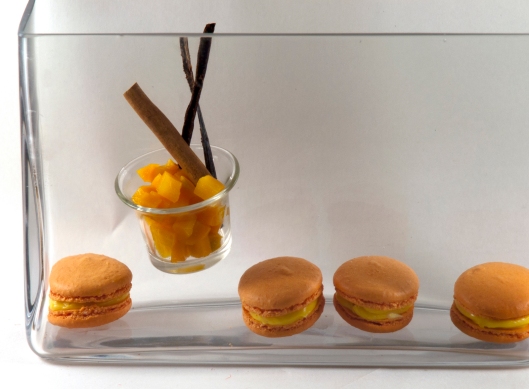
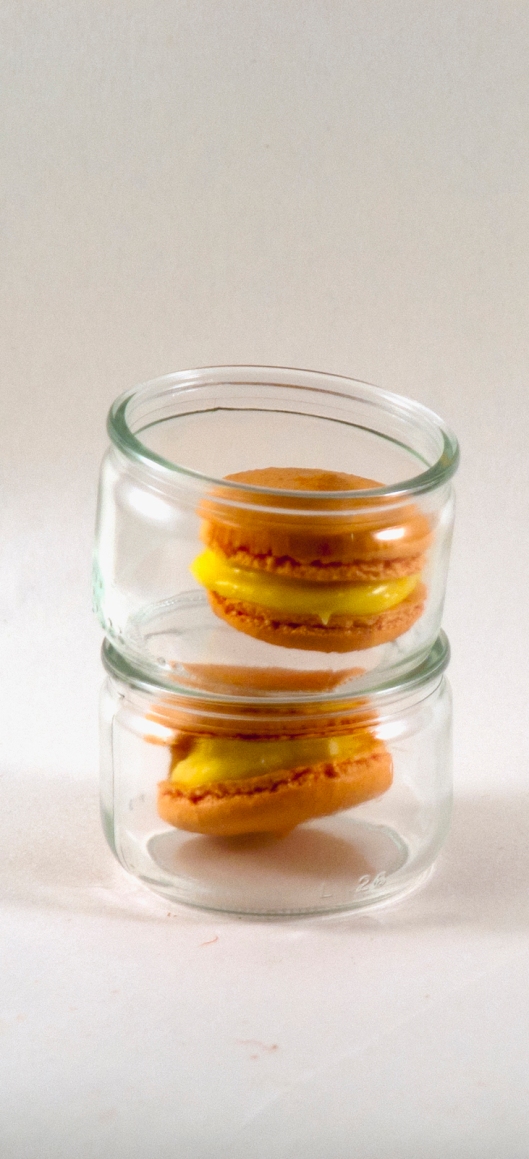
Carrot macaron

Mastering the art of macarons is a hard thing to do. They have been called the pastry that turns your hair white. They make even well-experienced bakers scream in horror as I read in MisoHungry. Anyway I have passed the last 3 weeks making and baking these little treats but as it turned out I had to throw away more than half the batch. I baked more than 1000 and only 400 of them came out OK. But improvement comes with experience so here is the result. I hope you like them. There are more to follow.

Find them in facebook here

The elegance in pastry

Tags

, , ,

The financier is a light, moist teacake, with a strong, yet, aromatic buttery taste that usually contains almond flour, flour, powder sugar, egg whites and above all beurrenoisette (brown butter). The name “financier” is said to derive from the traditional rectangular mold, which resembles a bar of gold. Another theory says that the cake became popular in the financial district of Paris surrounding La Bourse du Commerce (the former name of the Paris stock exchange).

Financiers are often served topped with whipped cream, berries, or other fruit, and served accompanied by ice cream or other frozen confections. Financier pans are traditionally rectangular; however, other shapes are not uncommon.


How to make your own flavored tea

Tags

, , , , , , ,

If you like flavored tea here is an easy way for a nice blending. Take the zest of an orange, a lemon and a grapefruit, spread it in a plate or better in a thin cloth and leave it in a warm place until it dries (normally it will take 2 days depending on the room temperature). Make sure that the zests are spread evenly otherwise the humidity will give them a bad smell. Blend the zests with the tea in a jar and here you go. If you want, you could use an empty vanilla pod stick for stirring the tea in the cup. In this case you will have a light vanilla aroma as well.

Time for Limoncello

Tags

, , , ,


Next time you use lemon in cooking remember to peel it before you squeeze it. Keep them in a bag in the freezer and when you have 800 gr of them prepare this delicious italian liqueur. For about 3 bottles you will need:

800 gr lemon peel
1 kgr vodka (the better quality you use the finer result you will get)
800 gr sugar
1 kgr water

Put the lemon peel and the vodka in a big jar or plastic container that seals well and leave it for 15 days in the refrigerator. The 16th day, make a syrup with the water and the sugar. Let it boil for 5 minutes until it is clear and transparent. Put the peels in a cloth strainer and squeeze it well until all the liquid is strained in the jar. Then throw the peels away. When the syrup is cold mix it with the lemon-vodka. Strain again the liqueur and put it in bottles. Put the bottles in the refrigerator and leave them for 5 hours. You can stor the liqueur in the freezer, or in a cupboard.

Salon de coiffure dans la maison

Tags

, , , , ,

The beauty department blog is like having a beauté at home. How to do your nails, make your hair and take care of your make up in beautiful images and interesting tips. Take a tour and get ready to be stunning this New Years’ Eve.
––––––––––––––––––––––
Δυσκολοι καιροι για κομμωτηριο… Μπορει να κρατησαμε το απολύτως απαραιτητο κουρεμα αλλά για χτενισμα ουτε λόγος. Το beauty department ειναι ενα blog γεματο συμβουλές από το πως να φτιάξουμε μονοι μας έναν υπεροχο chignon μέχρι πώς θα κάνουμε ένα πρωτοτυπο μανικιουρ.

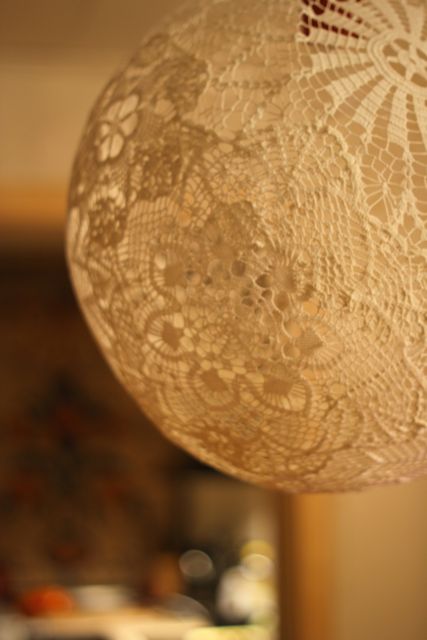
Doily lamp

Tags

, , ,

We all have some doilies from our grandmothers but we didn’t know what to do with them. Here is a great idea: Turn them into a lamp using just some wallpaper glue and a balloon.
––––––––––––––––––
Από σεμεδακια αλλο τιποτα πια τα σπιτια μας… Κι εκει που νομιζαμε οτι δεν μπορουμε πια να τα χρησιμοποιησουμε αλλου, να μια ιδεα, μοντερνα ευκολη και εξυπνη. Μετατρεψτε τα σε φωτιστικο χρησιμοποιωντας απλώς λίγη κολλα και ενα μπαλόνι.

Semmel for ever

Tags

, , , , , , , , ,

For those of you who cherish the moments in the Austrian Alpes, the word Semmel definitely rings a bell.  It reminds us of the gorgeous breakfasts with these crunchy rolls. The recipe (originally here) is simple and I am sure you will enjoy it. Once in a forthnight I make two batches  and I freeze them, so every morning we have fresh bread.

Semmel
(For about 12 large rolls)

250 gr bread flour
300 gr water
2,5 gr instant yeast

725 gr bread flour
300 gr water
5 gr instant yeast
15 gr salt

  • The night before, mix all the ingredients in your mixer bowl and with the paddle attachment whisk well until smooth. Cover with a linen towel and leave it overnight.
  • The next day, pour in the same bowl the flour (keeping one cup of flour), the water and the yeast. Using the hook attachment whisk for 8 minutes. Then add the rest of the flour and the salt and whisk for another 4 minutes or until your dough is elastic and smooth but not sticky.
  • Form the dough into a ball and coat it with oil. Put the ball into a bowl which is coated with oil as well. Cover the bowl with a damp linen towel. Leave it to rise for 2 hours. Alternatively you can put in in the oven to 30 degrees (but not higher) and leave it for 1 hour.
  • When it is ready knock it lightly so the extra air will be released. Form in a loaf and cut 12 pieces, preferably of the same weight.
  • Form into balls and put them in trays with parchment paper (6 rolls in a tray).
  • Cover them with a damp linen towel and leave them to rise for another hour.
  • When ready, heat the oven to 200 degrees and put an old pan full of water. The humidity will give them a nice color and a more crunchy top. Bake for 30 minutes.

––––––––––––––––––––––––––

Για οσους εχουν να θυμουνται χειμερινες διακοπές στις Αυστριακές Αλπεις, τα Semmel, σιγουρα τούς φερνουν στο νου εκεινα τα βασιλικά πρωινα με τα φρεσκα ψωμάκια που τρωγαμε για να μας δωσουν ενεργεια, απαραιτητη για το κρυο του βουνου και τις καταβασεις. Το μεσημερι σταματουσαμε για jaeger tee και gluewine. 

Η συνταγη ειναι απλή και ευκολη. Εγω συνηθως φτιαχνω διπλή δόση και οταν βγουν απο τον φουρνο και κρυωσουν τα κοβω στη μέση, τα βαζω σε μια σακουλα και τα φυλάω στην καταψυξη. Το πρωι βγαζετε οσα χρειαζεστε, τα αφηνετε για 10-15 λεπτα σε θερμοκρασία δωματιου και ειναι ετοιμα. Τα Semmel γινονται με προζυμι για αυτο υπολογιστε οτι θα χρειαστει να το ξεκινησετε απο το προηγουμενο βραδυ. Λοιπον:

Semmel
(Για περιπου 12 μεγαλα στριγγυλα ψωμάκια) 

Για το προζυμι
250 γρ αλεύρι σκληρό
300 γρ νερό
2,5 γρ μαγιά ξηρή (σκόνη) 

Για τη ζυμη
725 γρ αλεύρι σκληρό
300 γρ νερό
5 γρ μαγιά
15 γρ αλάτι

  • Από το προηγούμενο βράδυ ετοιμάζετε το προζυμι. Στον κάδο του μίξερ βάζετε ολα τα υλικά και με το φτερο (το εργαλειο του μιξερ που μοιαζει με Κ) χτυπάμε το μίγμα σε μεσαια ταχυτητα μέχρι να γίνει λείο και ομοιογενές. Σκεπάζουμε με μια πετσετα και αφήνουμε όλη τη νύχτα
  • Το επόμενο πρωι (ή πιο αργα αν θελετε, το προζυμι μπορει να μεινει μεχρι και 24 ωρες) ετοιμάζουμε το ψωμι. Μέσα στον κάδο του μίξερ που έχετε το προζύμι ρίξτε το υπόλοιπο αλεύρι (κρατωντας μια κουπα), το νερό και τη μαγιά. Με τον γάντζο δουλευετε το ζυμάρι σας για περιπου 8 λεπτά σε μεσαια ταχυτητα. 
  • Ριχνετε το αλεύρι που κρατησατε και το αλάτι και δουλευετε για αλλα 4 ή μέχρι το ζυμάρι σας να γινει λείο και μαλακό αλλά να μην κολλάει. (Εαν δεν έχετε μιξερ μπορειτε να το κανετε στο χερι απλώς θελει δουλεμα περισσότερη ωρα).
  • Σχηματιζετε το ζυμαρι σας σε μια μπαλα, το λαδωνετε απο πανω και το βαζετε σε ενα μεγαλο μπολ σκεπασμενο με μια πετσετα. Το αφηνετε για 2 ωρες να φουσκωσει. Εαν θελετε μπορειτε να το βαλετε στον φουρνο στους 30 βαθμους (προσοχη οχι παραπανω) για 1 ώρα.
  • Οταν φουσκωσει το πατατε λιγο να φυγει ο αερας απο το πρωτο φουσκωμα, σχηματιζετε σε φρατζολα και κοβετε 12 ισοβαρη κομματια.
  • Σχηματιζετε το καθενα σε μπαλα, βαζετε σε μια λαμαρινα (οχι πανω απο εξι σε καθε λαμαρινα) που εχετε πριν στρωσει με αντικολλητικό χαρτι, σκεπαζετε με μια υγρη πετσετα και αφηνετε να φουσκώσουν για μια ωρα ακόμα.
  • Οταν ειναι ετοιμα ψηνετε στους 200 βαθμους στον αερα για 30 λεπτα. Στον πατο του φουρνου σας βαλτε ενα ταψακι με νερο για να εχει ο φουρνος υγρασια. Αυτο τους δινει καλύτερο χρωμα και κάνει την κρουστα πιο τραγανη.

Organize your embroidery threads

Tags

, , , , , , , , ,

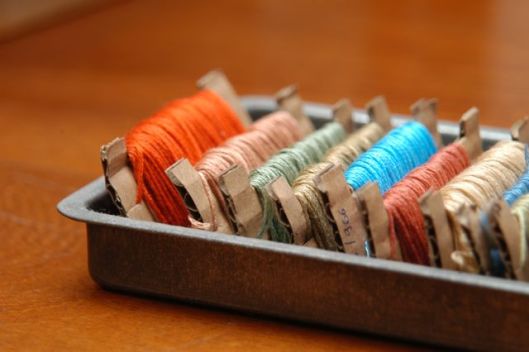
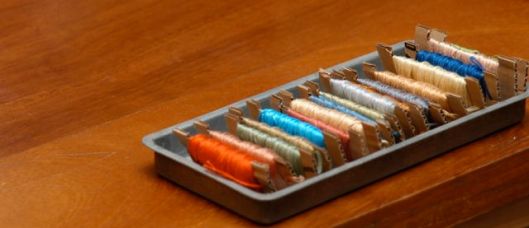
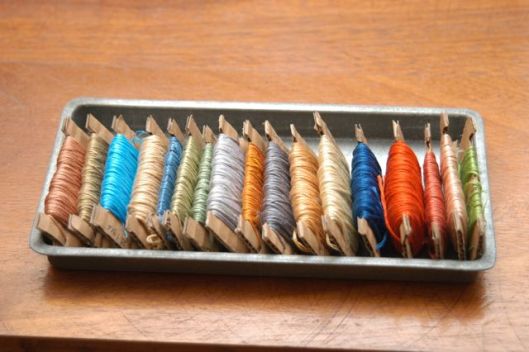
The problem I always have to deal with is how to organize the leftovers of the embroidery threads. Here is a simple solution that I hope you find interesting:
———————————–
Για όποιες κεντάτε, νομίζω το ξεμπέρδεμα των κλωστών που έχουν περισσέψει είναι πάντα ένα μεγάλο πρόβλημα. Ιδού μια γρήγορη και εύκολη λύση, που ελπίζω να σας φανεί χρήσιμη.

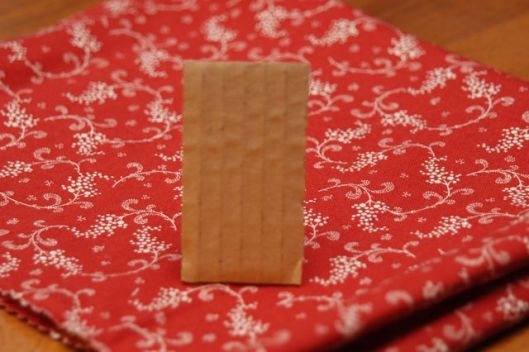
Take a cardboard and cut the four “ears”. Cut stripes of 4 cm width and each of them in 8 cm length.
——————————–
Αφαιρέστε από ένα χαρτόκουτο τα “αυτιά”. Κόψτε λωρίδες των 4 εκ και κάθε μια απο αυτές χωρίστε τις σε κομμάτια των 8 εκ. μήκος.

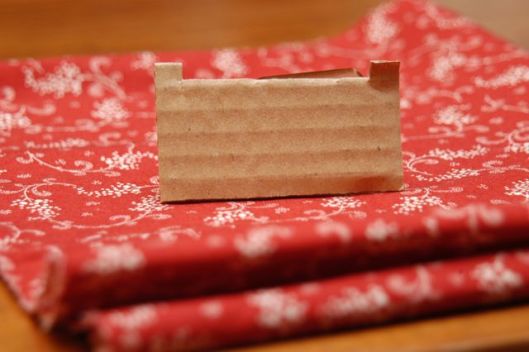
Cut a piece as shown on the photo, leaving one flap at each side.
——————–
Κάντε δύο ψαλιδιές, όπως φαίνεται στη φωτογραφία, και με ένα κοπίδι κόχτε το κομμάτι που ενώνει τις δύο εγκοπές.

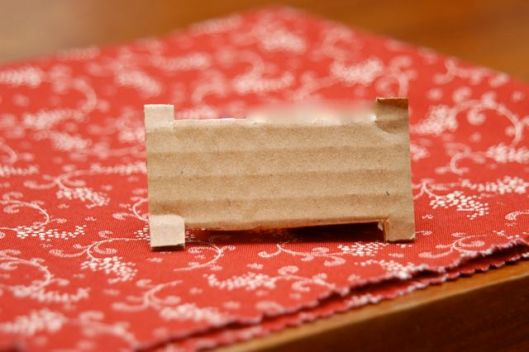
Do the same on the other side.
———————–
Κάντε το ίδιο και από την άλλη πλευρά.

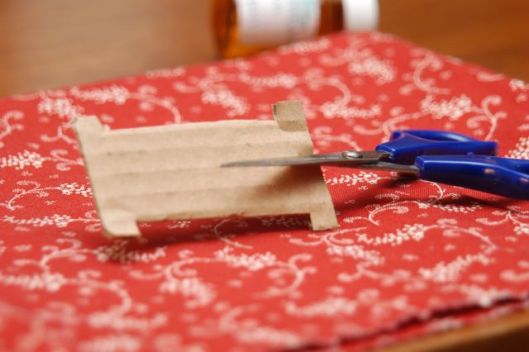
Make a nip as shown on the photo.
——————————–
Κάντε μια ψαλιδιά όπως φαίνεται στη φωτογραφία.

Reel the thread around the cardboard and use the nip to secure the thread. If you want you could write the number of the thread’s colour on one side in case you need to buy the same thread for an embroidery project.
——————————————–
Τυλίξτε την κλωστή σας στο καρούλι που σχηματίστηκε και χρησιμοποιήστε την εγκοπή που φτιάξατε για να στερεώσετε την άκρη της κλωστής. Εαν θέλετε σημειώστε με ένα στυλό τον κωδικό της κλωστής. Αυτό θα σας φανεί χρήσιμο σε περίπτωση που έχετε ήδη αρχισει ένα κέντημα και θέλετε να συνεχίσετε με το ίδιο χρώμα.

Ready!
—————
Ετοιμο!

Be famous

Tags

, , , , , ,

Credit: Álvaro Sánchez

You always wanted to be in an album cover but you were never famous enough? Here is an idea: In early 2006 Sleeveface made an internet phenomenon when  one or more persons obscure or augment body parts with record sleeves, causing an illusion. According to wikipedia The precise origin of the concept is unknown. A collection of photographs was posted online at Waxidermy.com in early 2006, though earlier examples of ‘Sleevefacing’ include a Mad Magazine cover and a sketch on The Adam and Joe Show with Gary Numan holding a record sleeve to his face.
————————-
Εχετε απωθημένο να γίνεται το εξώφυλλο ενός δίσκου αλλά δεν ήσασταν ποτέ αρκετά διάσημος για κάτι τέτοιο; Να πώς να το καταφέρετε: Στις αρχές του 2006 το Sleeveface έγινε ένα παγκόσμιο φαινόμενο όταν ένα ή πολλά πρόσωπα εμφανίζονταν σε γνωστά εξώφυλλα δίσκων δημιουργώντας μια ψευδαίσθηση. Σύμφωνα με την Wikipedia η ακριβής προέλευση της σύλληψης αυτής είναι άγνωστη. Αν και μια συλλογή φωτογραφιών “ανέβηκε” στο Waxidermy.com στις αρχές του 2006, παλαιότερα παραδείγματα του φαινομένου αυτού είχαν “χτυπήσει” εξώφυλλο του περιοδικού Mad και ένα σκετς του The Adam and Joe Show όπου ο Gary Numan κρατούσε το εξώφυλλο ενός δίσκου μπροστά από το πρόσωπό του.

Credit: Emma Stubbs, Stubbs and Stubbs

Credit: Christophe Gowans

Credit: Johan & Elien Copermans